
Starting Your DIY Indoor Herb Garden: A Beginner's Guide
Embarking on the journey of growing your own indoor herb garden is both rewarding and practical. Whether you have a green thumb or are a complete beginner, cultivating herbs indoors provides fresh flavors for your kitchen and infuses your home with greenery. This comprehensive guide will help you navigate each step, from selecting the best herbs and containers to harvesting your first aromatic leaves. Let’s transform your indoor space into a lush, edible oasis.
Before setting up your herb garden, evaluate the natural light available in your home. Most herbs flourish with ample sunlight, preferably six or more hours a day. South-facing windows are ideal, as they receive the most direct sunlight throughout the day. However, if your living space lacks sufficient natural light, consider investing in grow lights designed for indoor gardening. Observing how the sun shifts can help you position your herbs where they receive the best exposure.
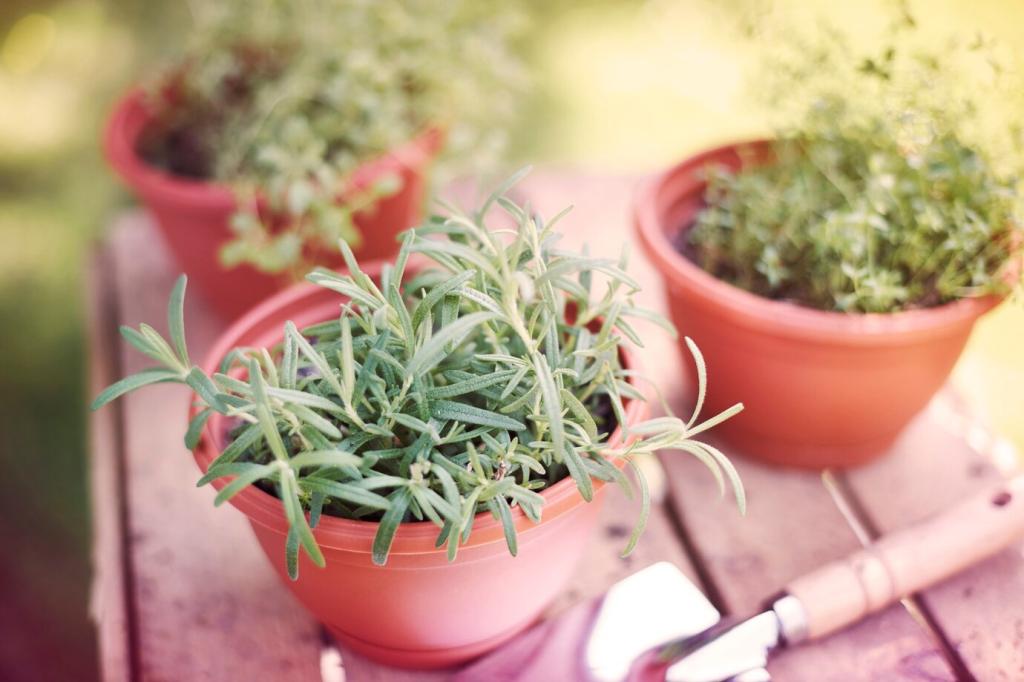
Choosing the Right Spot for Your Herb Garden
Selecting the Best Herbs for Beginners
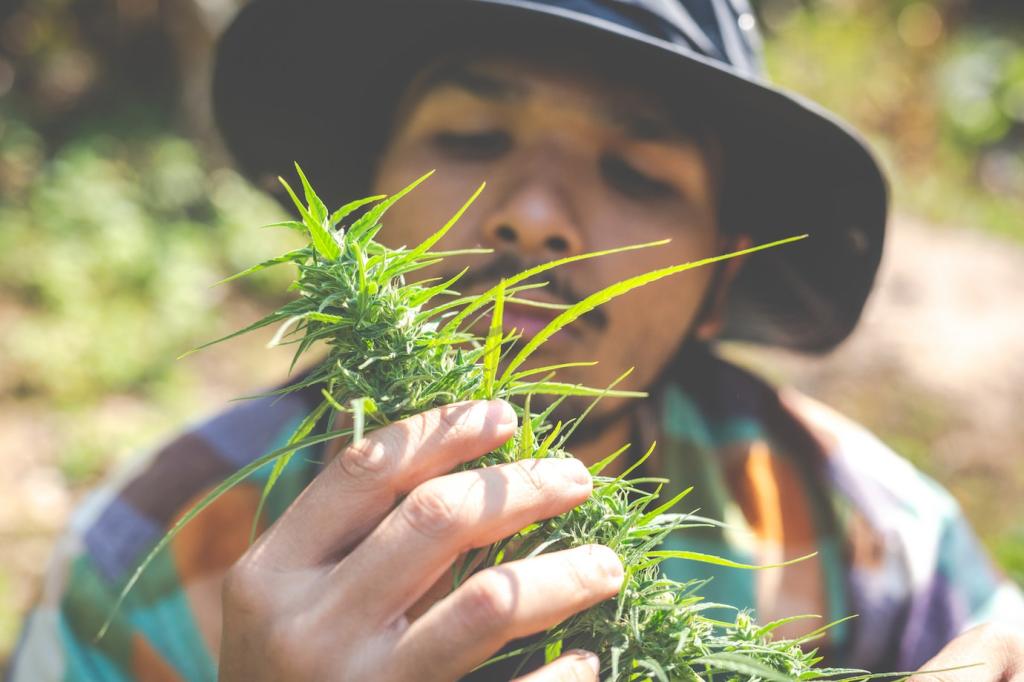
Beginner gardeners should opt for hardy herbs such as basil, chives, mint, parsley, and oregano. These selections are resilient, adapt well to indoor environments, and bounce back if you occasionally miss a watering. Their versatility in cooking also ensures your efforts in the garden translate directly to your plate, inspiring you to keep growing and experimenting.
Selecting and Preparing Potting Soil
Why Indoor Herbs Need Special Soil
Unlike outdoor gardens, pots don’t benefit from the natural drainage, nutrients, and aeration of ground soil. That’s why it’s crucial to use a high-quality potting mix designed for containers. These mixes are lighter, provide better aeration, and retain just enough moisture without becoming waterlogged. Steer clear of using ordinary garden soil, which can compact and suffocate herb roots indoors.
Adding Nutrients and Amendments
Herbs use the nutrients in their soil to power growth and produce the essential oils that give them their distinct flavors. Mix in a slow-release organic fertilizer to provide steady nourishment, but avoid over-fertilizing, which can diminish flavor and risk plant health. Some gardeners also add perlite or coconut coir to increase drainage and keep delicate roots comfortable.
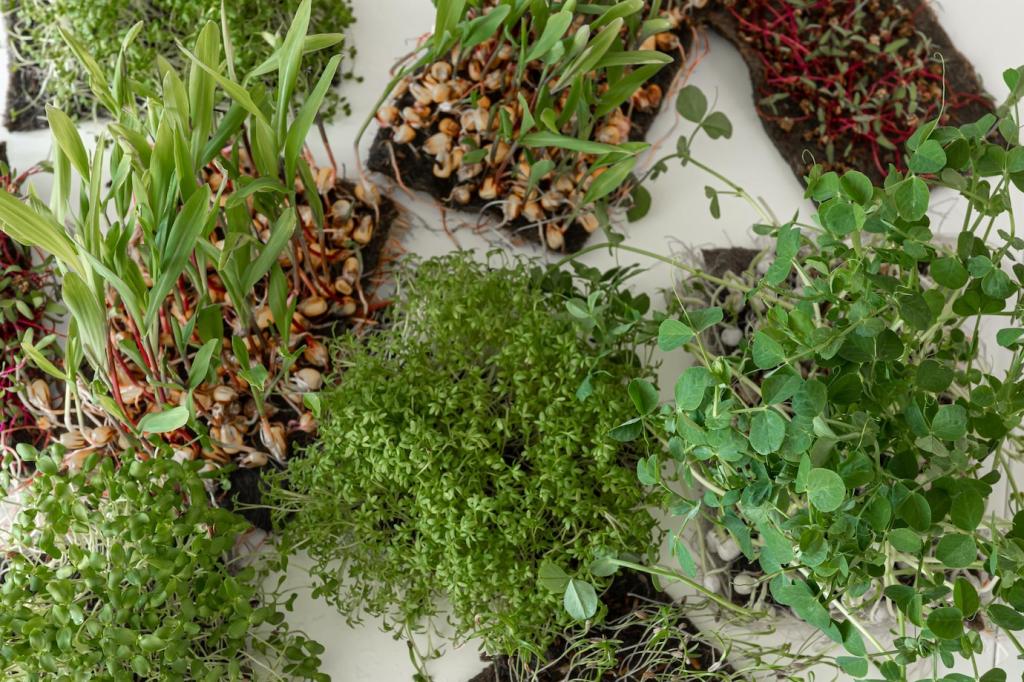
Prepping Soil and Planting Techniques
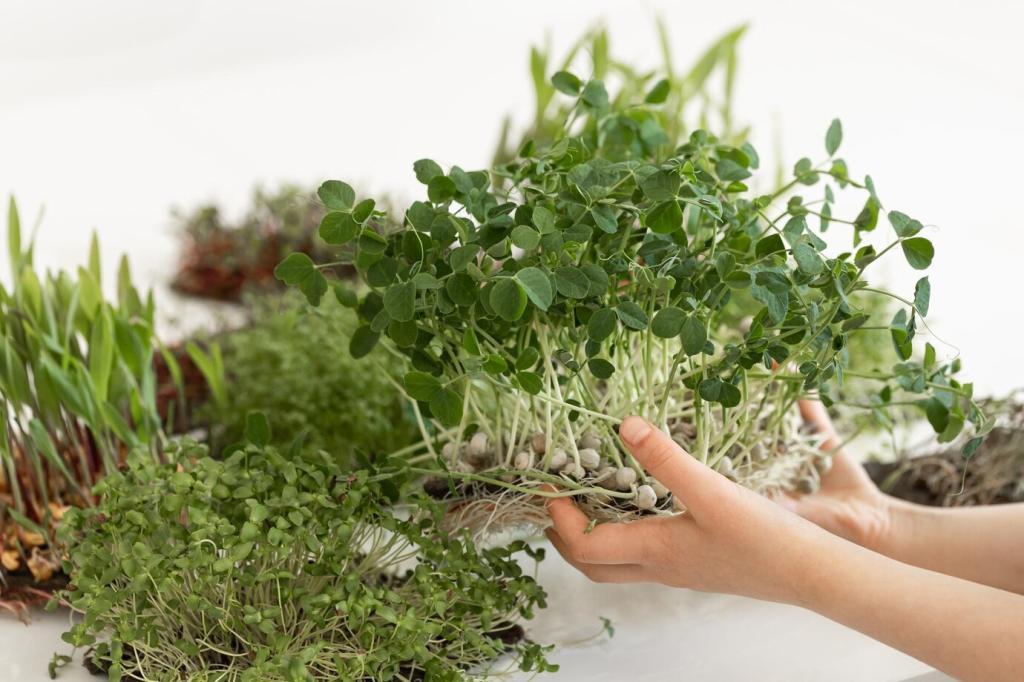
Before planting seeds or starters, moisten your soil until it’s damp but not soggy. Fill containers with the prepared mix, leaving a small gap at the rim. When planting seeds, follow packet instructions for depth and spacing. For seedlings, gently tease roots apart and plant at the same depth they were growing in their nursery pots. Water lightly to settle the soil—your garden is now officially underway.
Developing a Watering Routine
Herbs prefer slightly moist but not soggy soil. Stick your finger about an inch into the soil; if it feels dry, it’s time to water. Always empty saucers to prevent roots from standing in water. Be mindful: different times of year, humidity, and indoor heating all affect how quickly soil dries. Observing your plants and their environment will help you adjust your routine.
Signs of Overwatering and Underwatering
Droopy, yellowing leaves often indicate overwatering, while crispy or wilting leaves signal underwatering. If you notice fungus or a musty smell, it’s likely your soil is too wet. Adjust your practices accordingly, and always err on the side of caution—a slightly dry soil is safer than a soggy one for most herbs.
Fertilizer Tips for Tasty Herbs
Feed your herbs every four to six weeks with a diluted, balanced liquid fertilizer to sustain steady growth, especially if your soil mix doesn’t contain slow-release nutrients. Avoid heavy feeding which can result in lush growth but muted flavors. The goal is to maintain healthy, productive plants while preserving their vibrant, potent essence.
Identifying Common Indoor Pests
Aphids, spider mites, and fungus gnats are among the few pests that might invade your indoor garden. Check your herbs regularly for sticky residue, speckled leaves, or fine webs. Isolating new plants for a week helps prevent introducing pests to established collections. If you spot trouble, treat early with gentle, organic solutions like insecticidal soap or neem oil.
Preventing and Treating Disease
Yellowing leaves, powdery mildew, or sudden wilting can be signs of disease. Good air circulation and avoiding water on leaves help prevent most issues. Remove affected leaves promptly and allow soil to dry between waterings. If problems persist, consider replacing the affected plant to safeguard the rest of your garden.
Dealing with Slow or Uneven Growth
If your herbs appear stunted or grow unevenly, it could be due to lighting, watering, or nutrient imbalances. Rotate pots regularly so all sides receive sunlight, and routinely check your care routine. Over time, you’ll become attuned to each herb’s signals and preferences, allowing you to fine-tune your methods for optimal health.
Pruning and Harvesting Your Herbs
Regular pruning encourages your herbs to grow bushier and prevents them from becoming leggy or flowering prematurely. Use clean, sharp scissors to snip above a set of leaves, stimulating new shoots. This process not only controls size but ensures your plant’s energy goes into producing the most flavorful leaves.